A while back hubby and I bought two old agricultural show cages from a nearby property. We paid $150 for the pair and at the time, the agreement was for him to have one to store tools and me to have one for converting into a guinea pig hutch. Luckily for me, he decided that I could have both!

Today we set about making it happen. I decided to document the process with photographs. The above photo, is the obligatory 'before' pic. As you can see, it is a pretty rough looking unit.

Today we set about making it happen. I decided to document the process with photographs. The above photo, is the obligatory 'before' pic. As you can see, it is a pretty rough looking unit.

Anyone who knows me, or follows my blog closely will know that my motto is safety first. My hutches are secure, safe and practical, first and foremost. For me looks, are a secondary thing and to be honest, not that important. Guinea pigs don't know or care what their house looks like and their safe keeping is my job. A job that I take very seriously.
So my first task was to cover the large wire mesh on the doors, with smaller aviary mesh. I clipped it onto the inside, making it much harder for predatory animals to rip off. I then clipped corflute 'kickers' on, where the shelves were going to prevent bedding going everywhere and to offer some protection from the elements.

You can see the outside view of this above. Now I must admit I had some reservations about the fact that the cage is made with galvanised sheeting, in terms of it lacking good insulation properties. The photo below shows its construction a little more clearly.

So to combat this, we used 19mm ply for the shelves and laid corflute over each shelf. In order to get them in, we had to take the outside sheeting off, as seen below.

The white corflute on the bottom two shelves is from Bunnings. It comes in 1200mm long sheets and is nice and thick. The black corflute on the top shelves is used as a packing material to protect some of the colorbond sheeting we buy in our business and is not as good a quality but it is free.

You can see here, the shelving is in and the sheets of corflute have been laid on top. Due to the ply being quite thick and rather heavy, it had to be secured with several screws.

This is the view from the outside. It's really starting to come together and you can get an idea of the vision. As I say, it may not look that pretty but it is certainly very durable.

However being on the ground is less than ideal, so my husband was kind enough to weld some nice solid stands for me out of galvanised 40mm SHS, to keep the bay cages up off the ground and make it harder for snakes, dogs or cats to have access to the guinea pigs.

The next stage was to lift the cages up onto the stands. Which because I am currently 35 weeks pregnant, is a part that I was told in no uncertain terms I would not be helping with. So I had to wait impatiently for my Father-in-Law to come over before they could be raised up. Finally he arrived and I watched with nervous anticipation. Fortunately the men were more than capable of doing it without me, in spite of the fact that each cage weighs around 150kg.

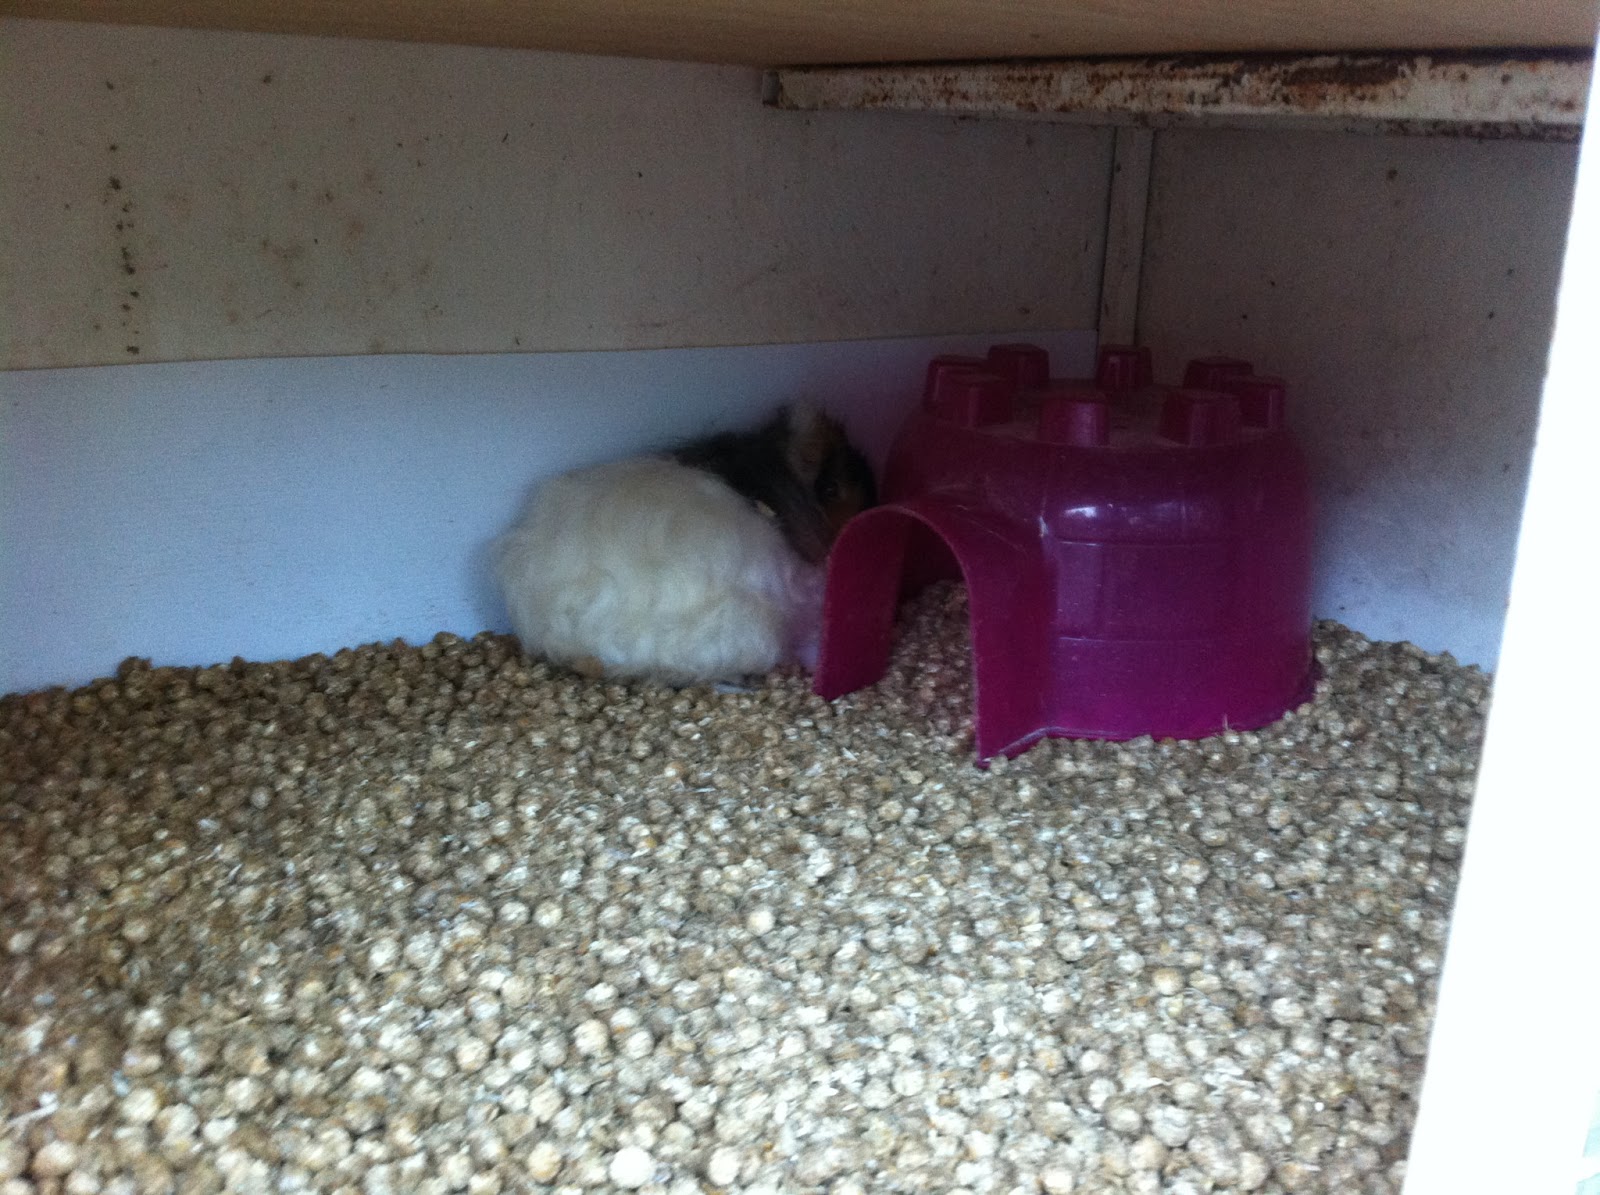
At this point I decided to put some piggy igloos in, just to get a feel for how they would look.

Then it was time for the roof to go on. It has a slight overhang at the front to prevent water dripping down but even I, at almost 6 feet tall, can't hit my head on it. The bay cages face the north because storms in our area always come from the south-west. They are also under the shade of a large grevillea tree. I am going to buy a tarpaulin which can be rolled down over the front on cold nights and during storms.

The final touches from hubby included screwing the cages onto the frame for extra security. We are also going to strap it to the fence behind it. I estimate that it won't be going anywhere in a hurry!

My final touches included adding some water bottles and left-over shade-cloth to cover them. This will help keep them cool and reduce algae growth caused by sunlight. I also added some stocked feed bowls and some Ekwizorb, which is a bedding/litter product made from pelletised compressed straw, natural oils and eucalyptus.
Lastly, it was time for the guests of honor to try it out. I put Summer in one bay and Hasana in another. They seemed to think their new homes were pretty great and I think it was a day well spent.
No comments:
Post a Comment